Category: Cambridge Recipes
-
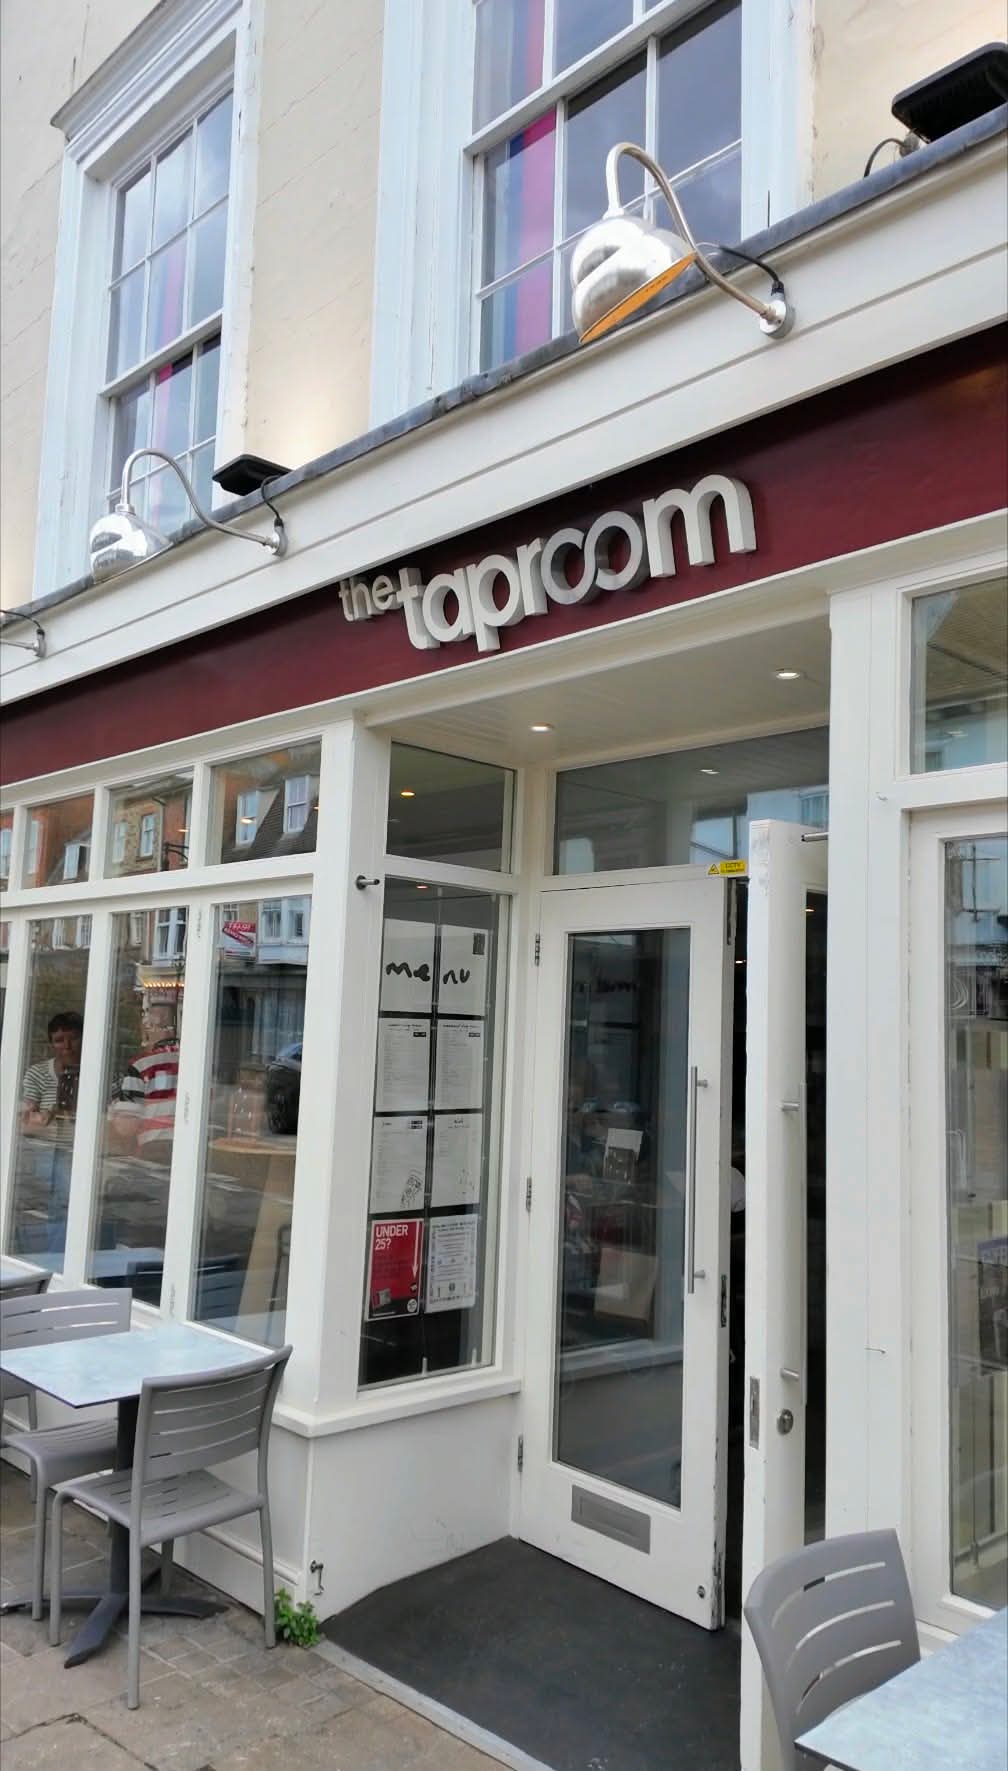
The Taproom now does pizza!
“AD” – Why is this here? When I visited The Taproom back in 2025, it was for their breakfast, which I confidently dubbed one of the best in Cambridgeshire. It genuinely took me by surprise – you usually expect high-end…
-
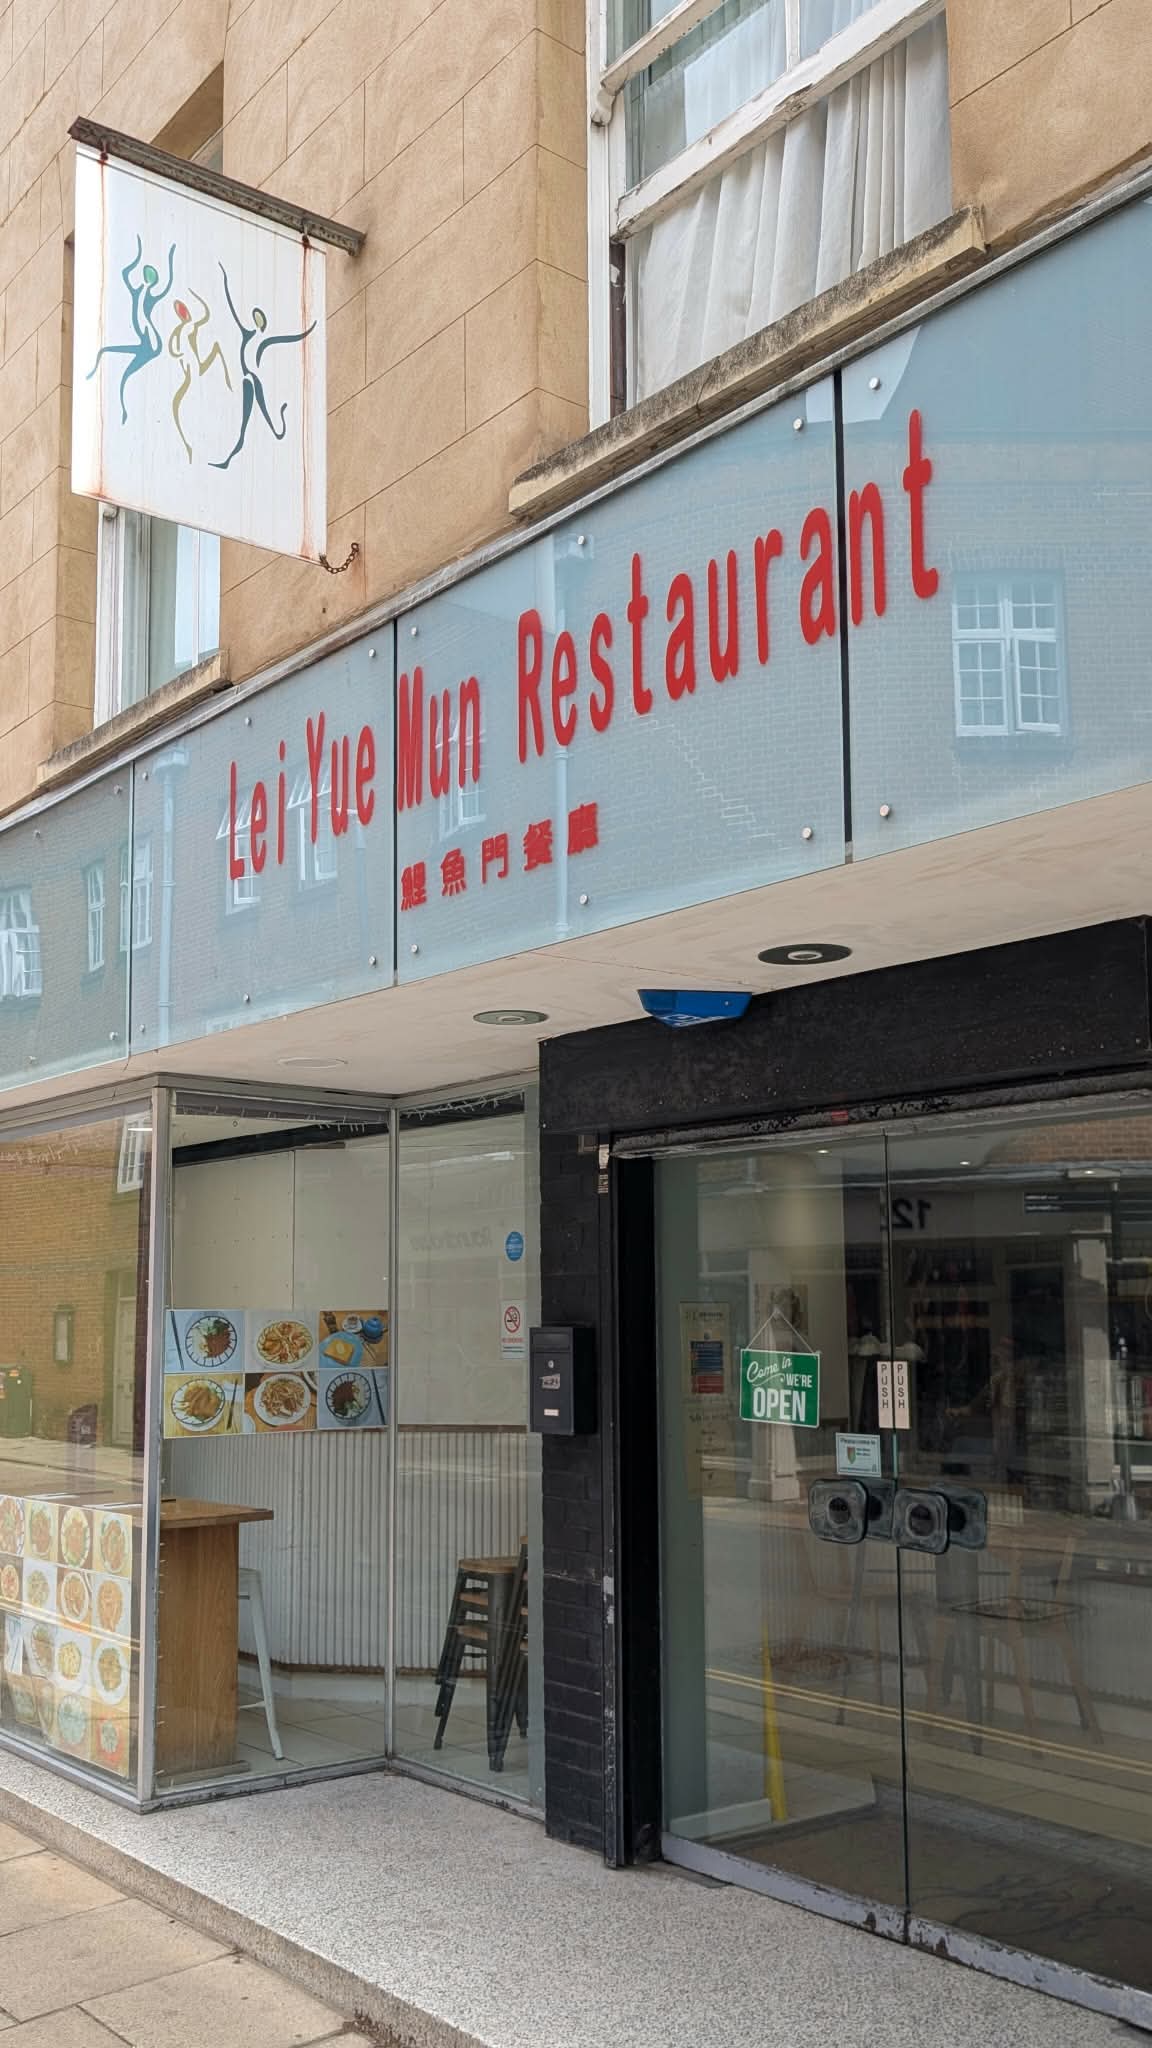
Xiao Spots: Lei Yue Mun, Hobson Street
I have been out scouting for more “Xiao Spots“. For those new to the series, these are the smaller, unassuming Asian eateries – usually Chinese – that fly completely under the radar. They have almost no online footprint and zero…
-
Malabarikh Atelier’s new menu @ Fore Hill, Ely
“ad” – Why is this here? It has been exactly one year since I first stepped into Malabarikh Atelier on Forehill. When they opened, I described them as an exciting arrival in Ely, bringing something entirely different from the typical Bangladeshi-style…

-
New breakfast menu @ The Three Pickerels, Mepal
I am lucky enough to have The Three Pickerels located along my daily dog-walking route. It is a spot I find myself visiting from time to time and is perfectly positioned on the river. It has become a regular enough…

-
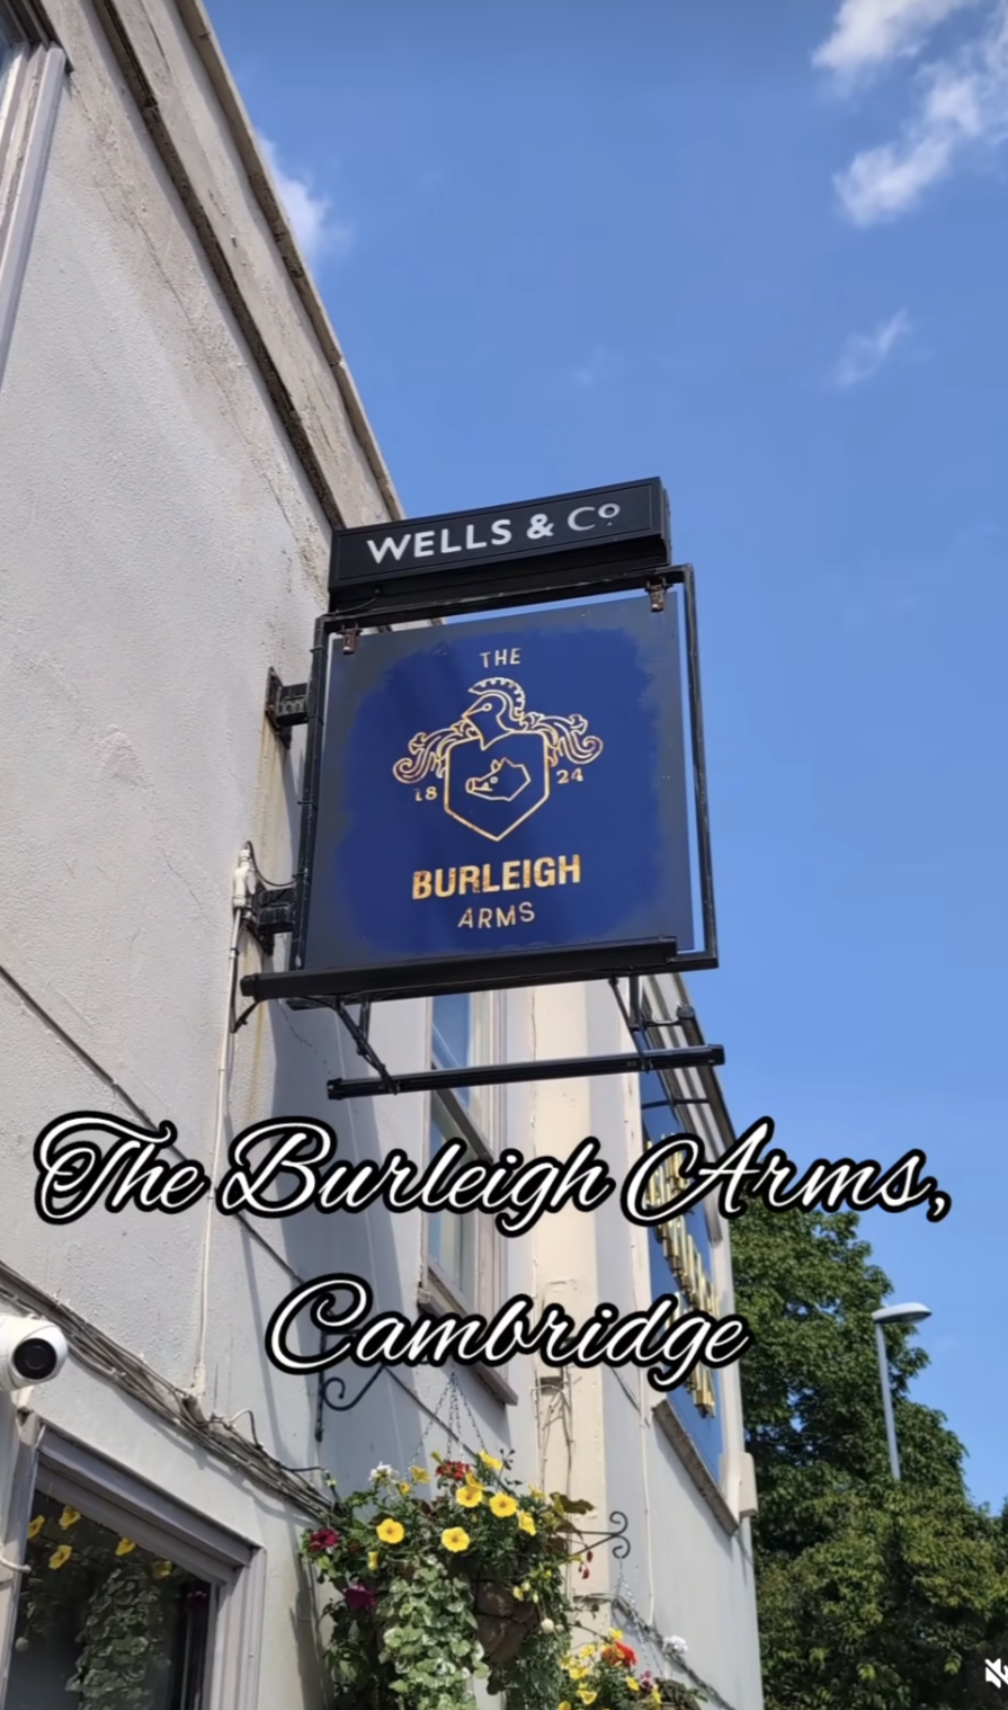
The Burleigh Arms: a new chapter under Sam Sturman
“ad” – Why is this here? The Burleigh Arms holds a special place in my heart and it is a venue that has truly captured the imagination of the Cambridge Foodies community over the past few years. As I sat down…
-
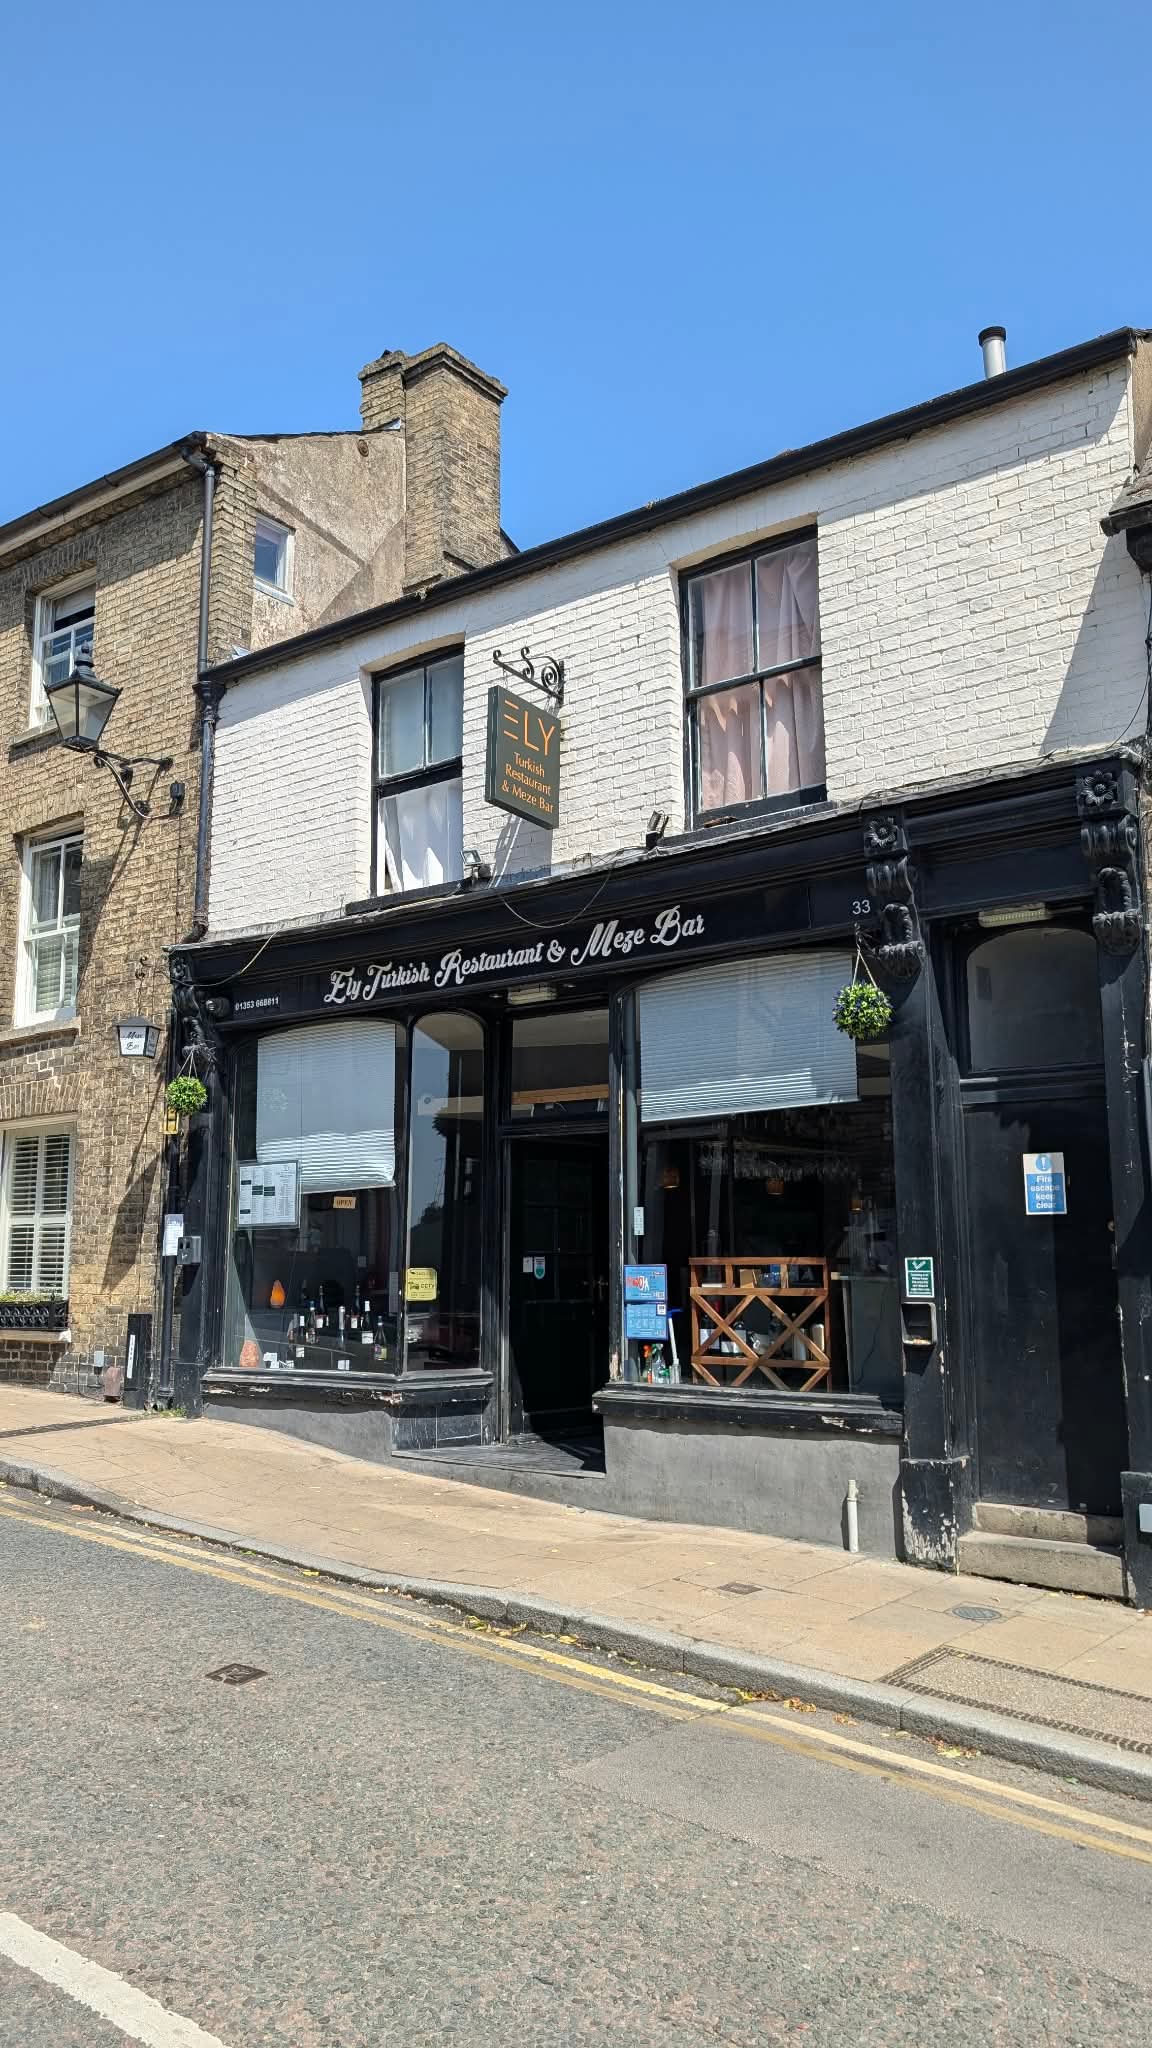
Ely Turkish & Meze Bar, Ely
“ad” – Why is this here? It is an exciting time for the Ely food scene, with new venues seemingly popping up across the city every other week. While it is easy to get swept up in the latest shiny new…
-
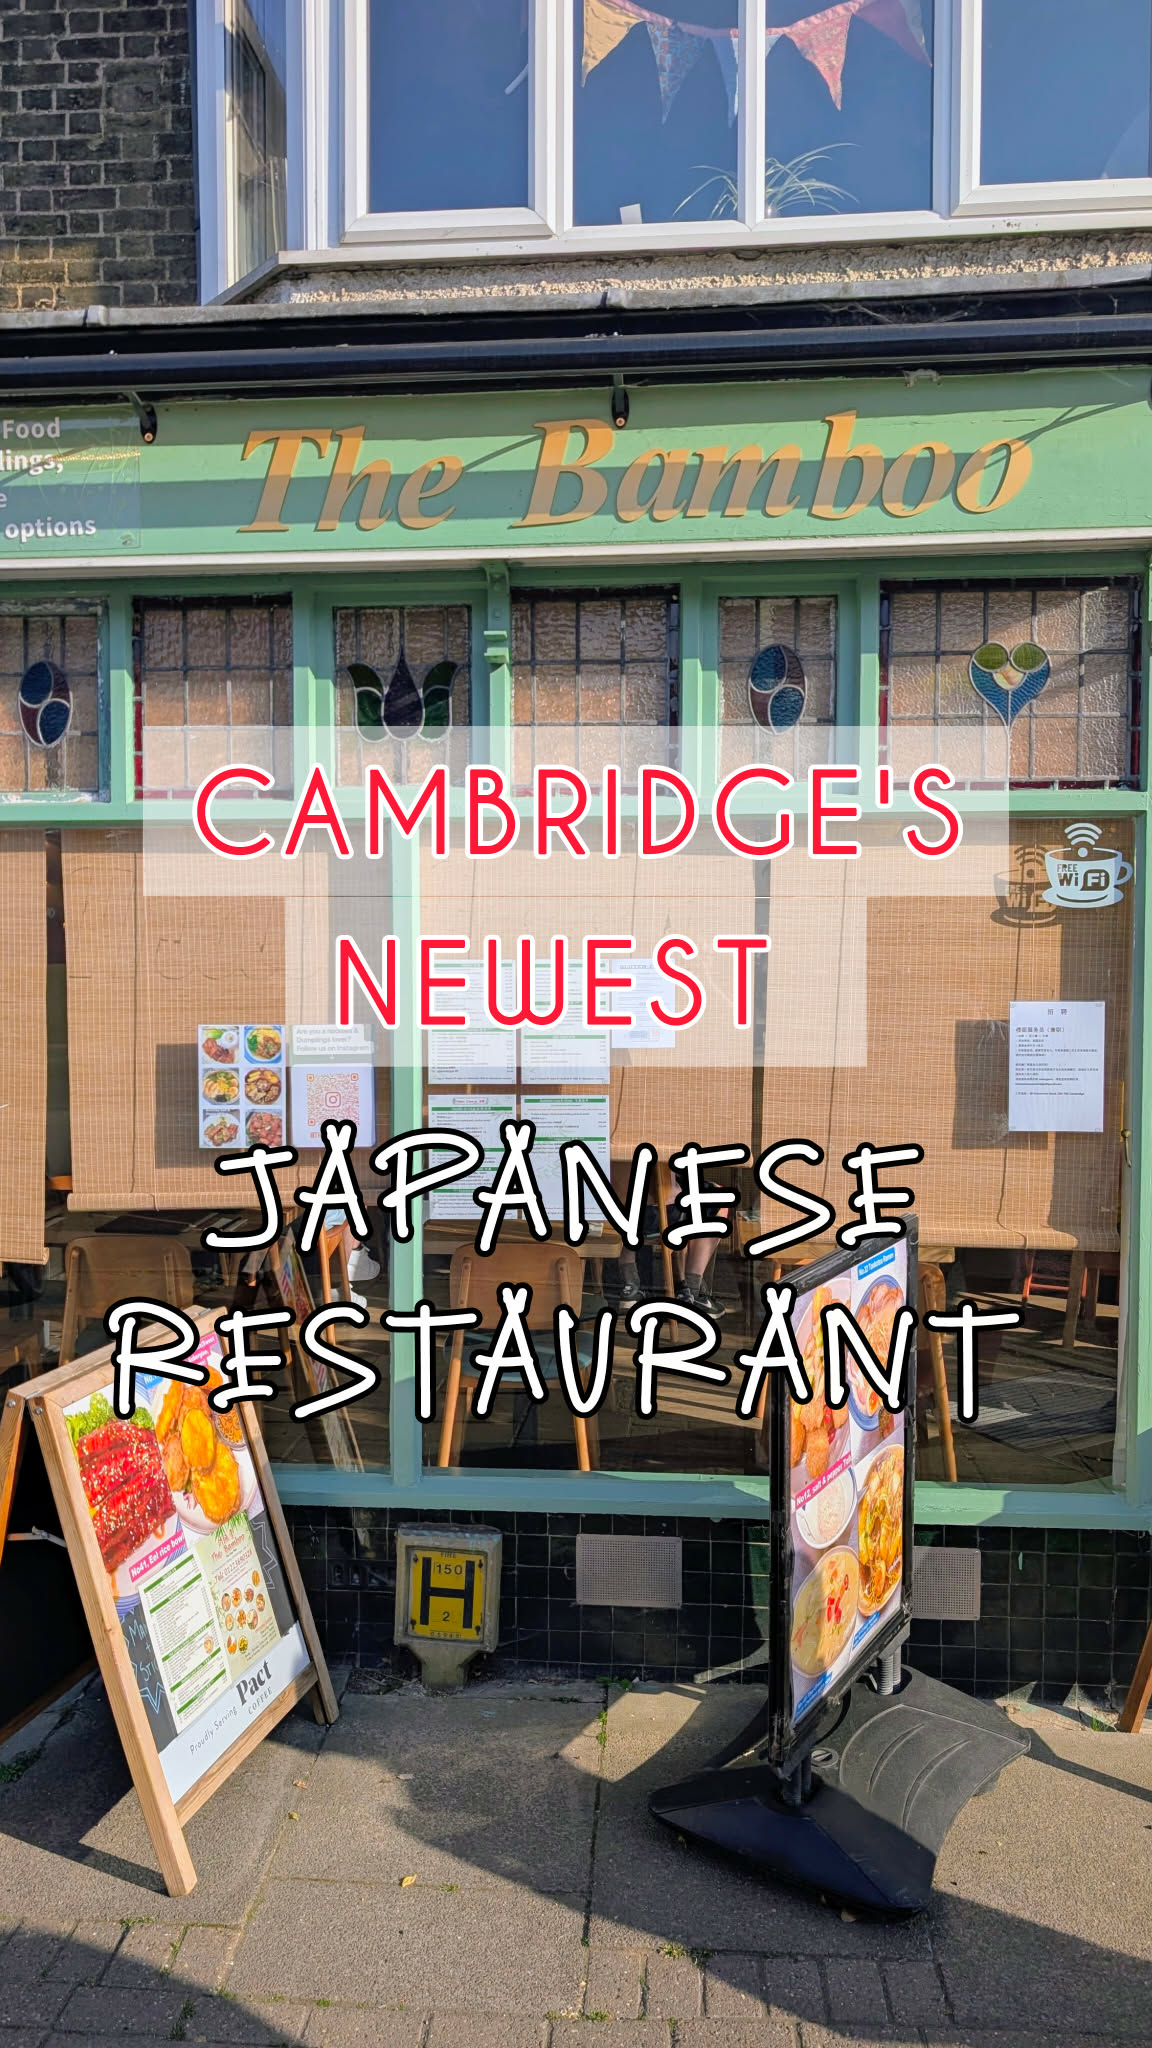
The Bamboo: A Little Slice of Japan on Chesterton Road
Chesterton Road is quickly becoming a serious foodie hotspot, going from strength to strength with every new opening. The latest addition to the strip is The Bamboo, a small, café sized restaurant serving authentic Japanese and Chinese cuisine. This is…
-
Between Buns – A burger joint that also does a killer roast dinner! – Royston
Regular readers will know I have been a massive fan of Between Buns for a while now. Back when they were primarily a food van doing the rounds in places like Melbourn and Shepreth, I used to stalk their social…

-
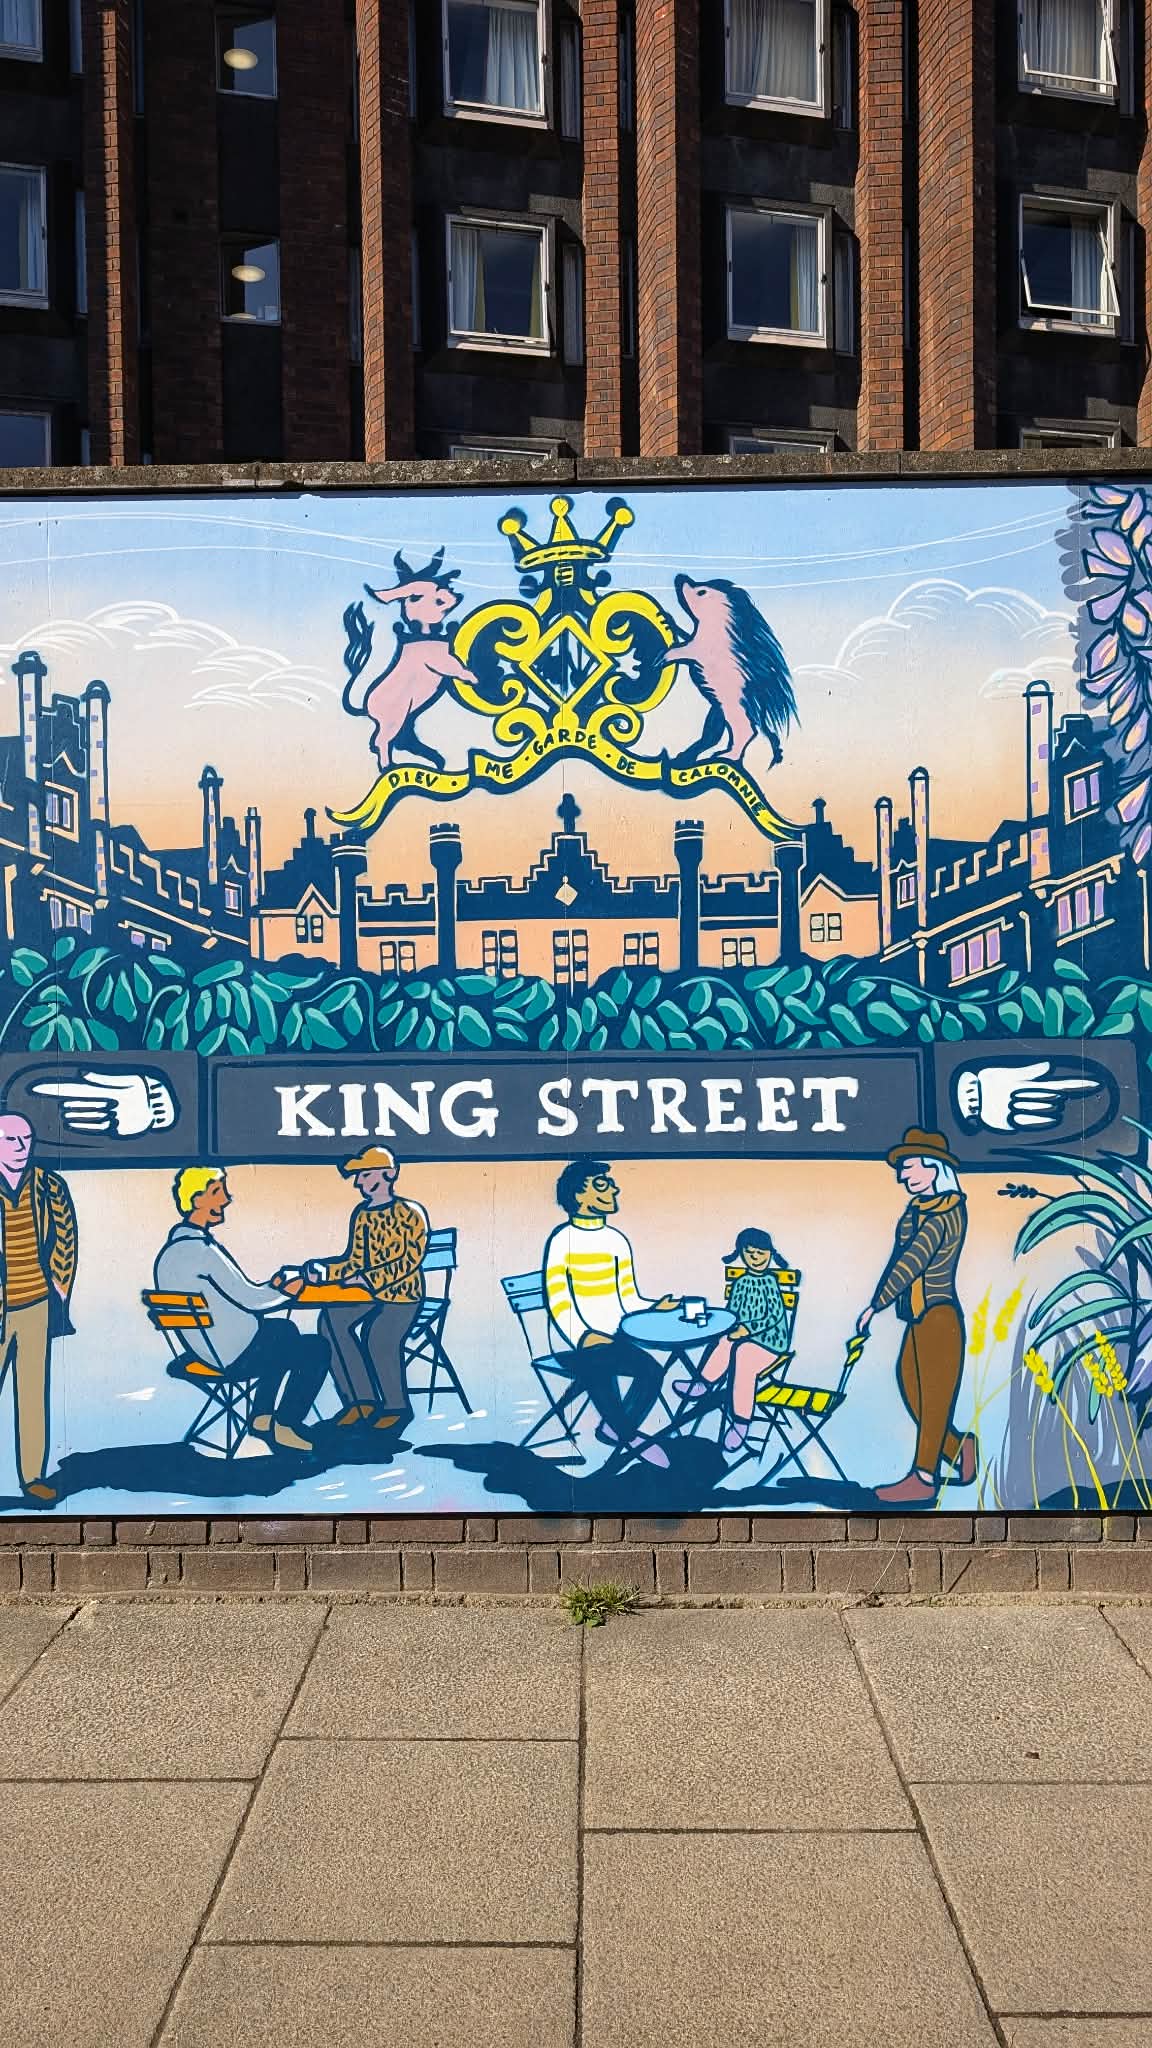
King Street is a great place to eat
King Street has long been famous for its legendary pub crawl, but these days, that multi-pub marathon is virtually non-existent. However, the street hasn’t lost its buzz; over the last few years, it has quietly transformed into one of the…
-
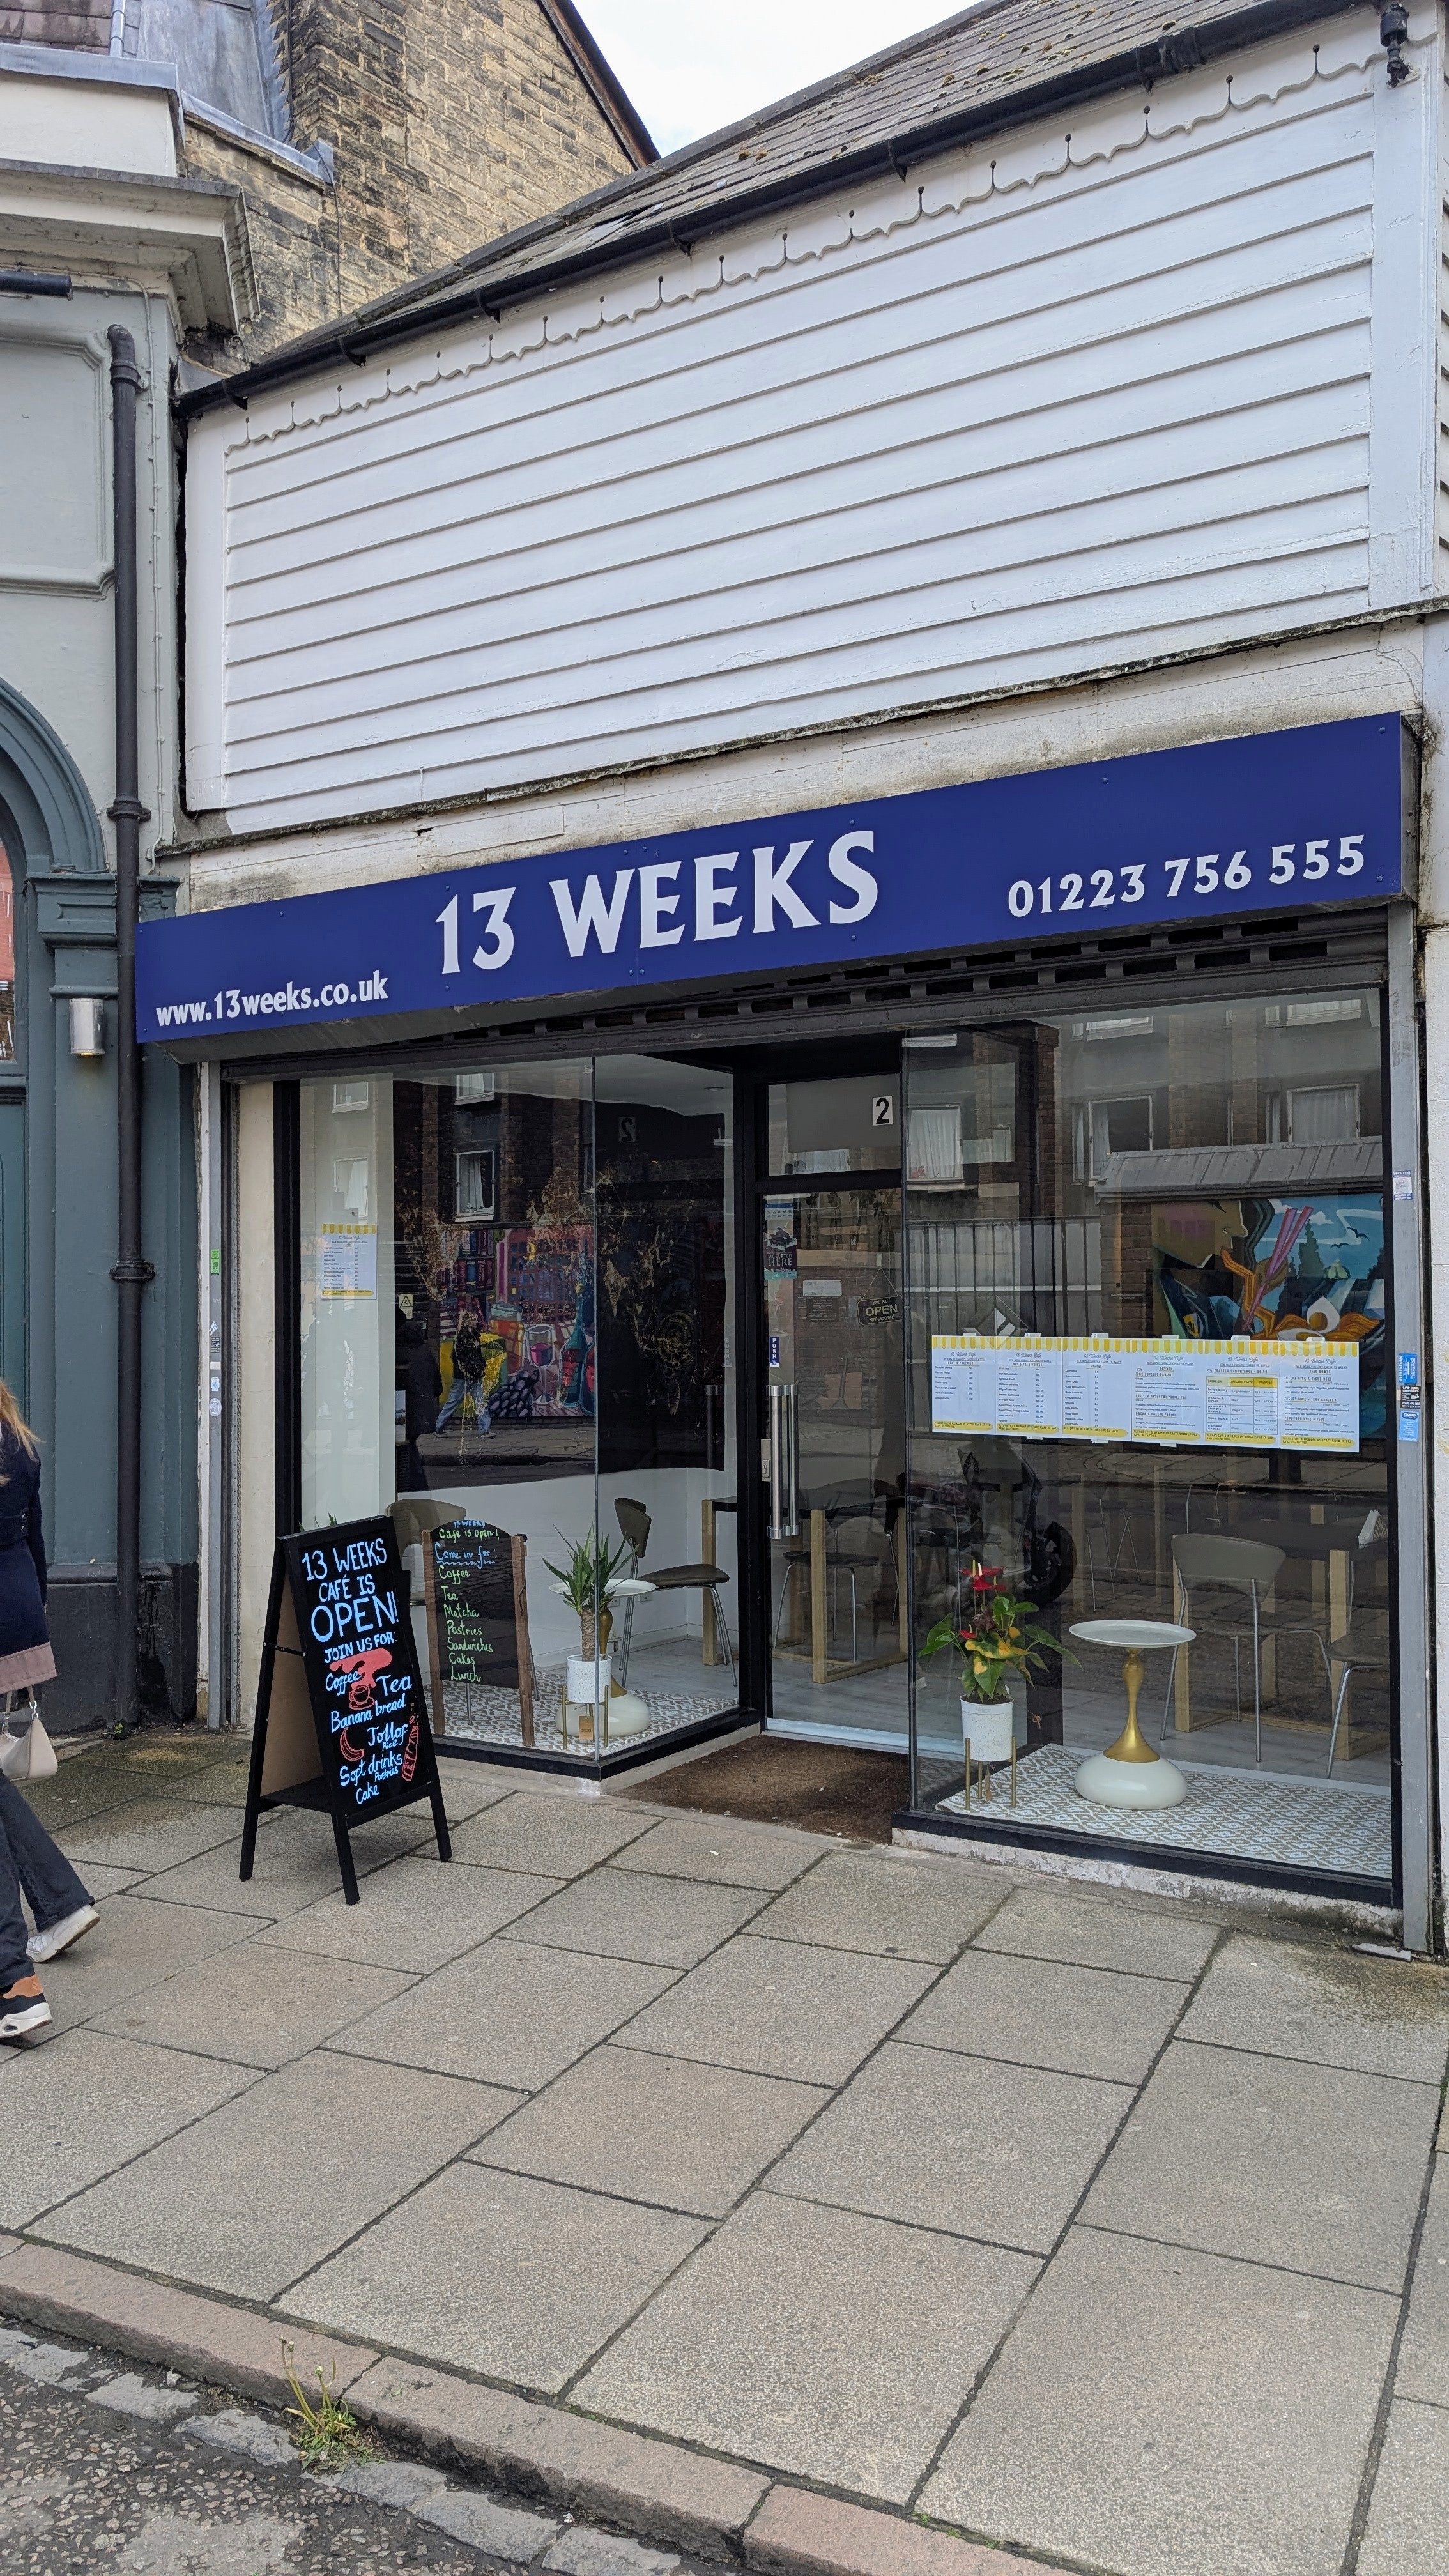
13 Weeks – Nigerian food on King Street
King Street has gained a fantastic new independent spot and it brings a completely fresh concept to the city centre. When you spend your days looking at local menus, you start to notice a lot of repetition, but 13 Weeks…
You must be logged in to post a comment.